The KDP Process – How I got my planner on Amazon
Howdy Friends,
I am so excited to say, you can get a printed copy of my planner through Amazon now. It’s so cool to have it come to you bound. I did both vertical layout and my hourly layout.
The links in this post are Amazon links, if you click through and make a purchase, it earns my money not only because I made these planners but as an affiliate link. Thank you.

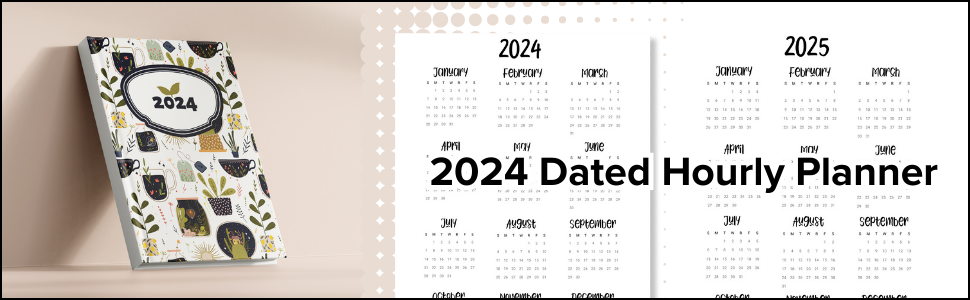
Both have the neutral layout and collections, just different weekly depending on what you might want


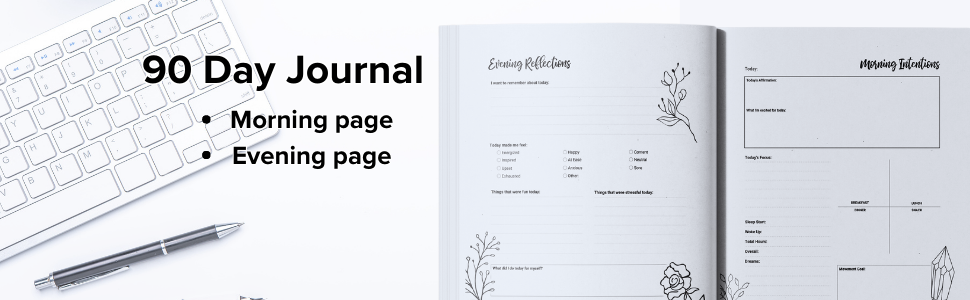
I am so glad I tried this. I wanted to try low content books for awhile and since I was in the process of making 2024 planners I was able to set that up. I also made a simple dream journal, and my reflections journal. I only did those in softback though. You can get a hardback 2024 planner which looks so cool.

Just to be fully clear, I haven’t sold any there are a ton of low content books out there D: so just as FYI. I am sharing them here and if you’ve wanted to try out of these, I appreciate it. I also tried to rip the pages out of one of the samples and rebind it (spiral) and couldn’t get it to rip well so, if you are thinking of that, it wasn’t something I was able to do.
KDP Setup Tips
I wanted to go over some tips and process for doing this. I found some quirks and had to figure them out, so I wanted to share. One of the reasons I did this was because I would like to do a novel sometime in the future, so good practice too.
To get started, you’ll need your prepped file – I used Canva to finalize my stuff. I made the change to Canva early this year and have been pretty happy with it. You might create a draft before you finalize your design on the KDP site as well – to see what size you want and what sizes are accepted. They do have limits.
Then head over to https://kdp.amazon.com and sign up.
Sign in, and head to bookshelf.
You hit create to get started on your draft, hit paperback or hardback in this case.
Page 1 entails the text stuff; Book name, subtitle, editions if you want to use that. For Author this shows up so you can use whatever name you want here – you also get an author page you can customize later.
Then Description. This is similar to like a listing for Etsy or what not. I had trouble with bullets and it recognizing characters that weren’t there or didn’t transfer properly. It would think the bullets were characters that didn’t exist and I had to mess with it a few times, first quirk I came across. For drafts I didn’t bother with this but it must have something in it for to save your book.
Publishing rights refers to if you own the content. Then Primary audience for safe for work stuff, if that is your market. Then it ask your primary marketplace which is your Amazon essentially – US for US.
Categories I did some googling for and found several people complaining about low content books and a few comments that said – ‘Amazon is not meant for this’ but if you look here, it literally has a box for it. So they know what you are working on, it’s fine. For my planners I used:
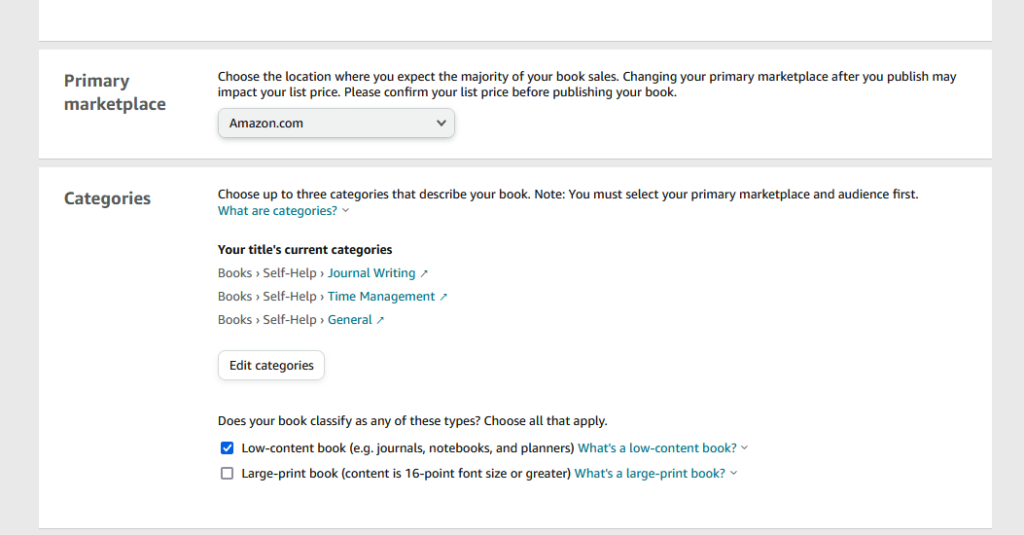
But look through and look for what works for you. For the dream journal I used spiritual.
Then keywords appear. It’s limited here, so I used planner keywords like I would on Etsy – Planner, 2024, etc You can schedule some books, not low content, on the next page is where we add files.
For low content books I recommend no ISBN but feel free to buy one. You will need one to publish a real book, and if you want these in a store. Depends on your level of marketing and use here.
You can specify colors of pages – cream or white – and color or black and white print. These all effect the cost of your book. Okay now you can opt for book size, bleed settings, and matte or glossy covers. I love matte personally. I recommend ordering both to see what you like BUT I recommend ordering different settings on each book – to save cost – for example maybe draft one you get white paper and gloss, and on draft edit 2 you get matte covers with cream paper. Then you can decide what you want for the final.
Book size examples:
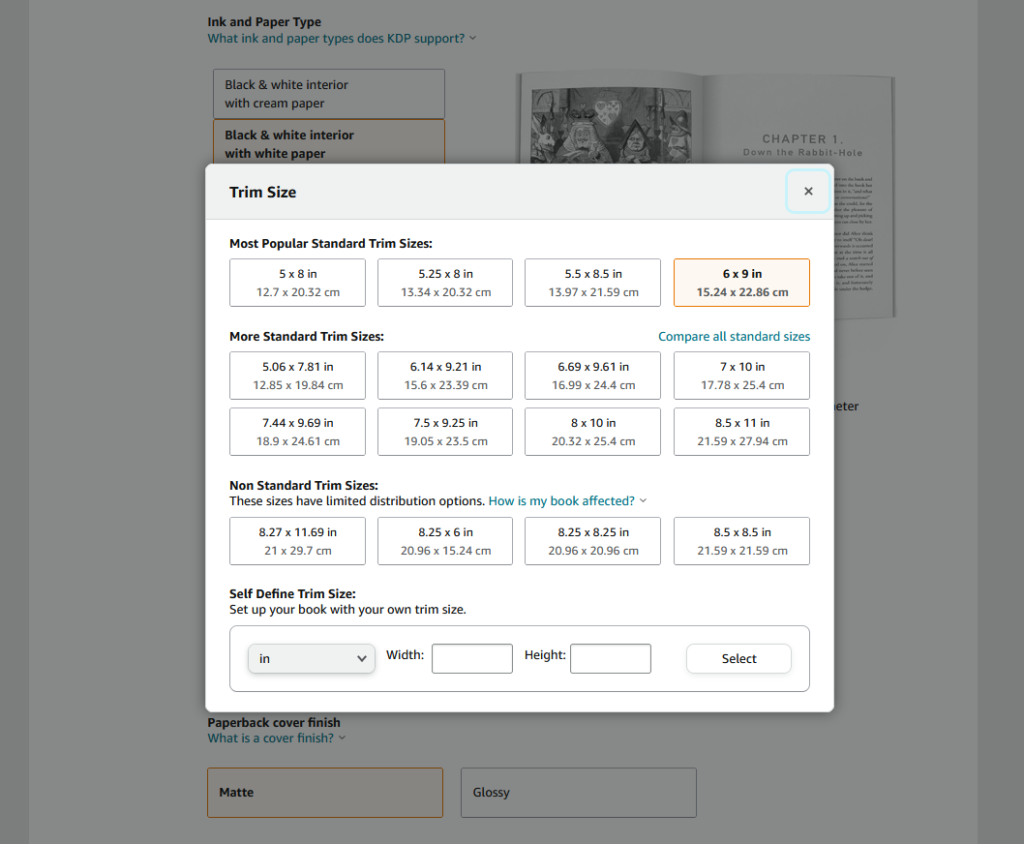
If you are doing a PDF upload book, I recommend Bleed (PDF only) or it will complain at you for any designs outside the bleed in the next steps. Upload the inside, manuscript and you can get started on the cover.
You can use their builder or create your own based on their specifications. If you go to their template creator, you can estimate the cover size. You may need to tweak this when you upload it the first time. I had to several times, even though I followed their template. It wasn’t a big deal but it did complain of a few pixels here and there.
You can see a preview of your book, similar to Lulu, etc you can see the inside and outside. This will complain at you if you did not select the PDF bleed option. Once that is ready to go, on the third page you set selling information. KDP takes a pretty good sized cut, so just be prepared to be sad. For example, for me at $9.99 for the paperbacks, I theoretically would get a $1.47 of that.
At the bottom of the 3rd page you request a proof copy. I proof copy has a bar across it that says its a proof copy, so you know. Mine arrived very quickly, I would say within 3 days of ordering I got the proofs of things. I was also pretty happy with the quality, paper is great and the paperbacks are breakable floppy which is good for writing books. I think it will be harder with the hard cover, but they look so cool as hardcover so I might event out.
These books might be bad for stickers over time based on the thickness and type of binding so something else to keep in mind when you are designing planners in them vs just notebook or workbooks.
If you try KDP out share your designs! It’s such fun to see how these turn out, there is still nothing like holding something physical you designed from start to finish.
Happy planning