Digital Bullet Journals – Daily pages in Google Docs
A break down of how to create a daily page setup in Google Docs for journaling and tracking.
Howdy Friends,
This is a rewrite of an old favorite, about Google docs. There are a ton of new things, and as I update post, this is one that I wanted to get to as much as possible, if you want to read the old version, I’ve decided to archive it because how popular it was.
In this post I plan to go over concepts in Google docs to help you with your digital bullet journaling. Google Docs does update, so this was written in 2025 with the new knowledge. You can always check out their help page for the newest features.
Now because I know its a question if you are not new here you may wonder – yes I love my Notion page, but I use Google Docs, and other sites, to keep track of long term things as I pay for it, and I’ve seen people get taken down off Notion. I don’t recommend journaling in a free app >>; Now I am not saying Google is the king in privacy, local will always be better, but services you pay for have a bit more responsibility to you then free ones.
Creating a new file in Google Docs
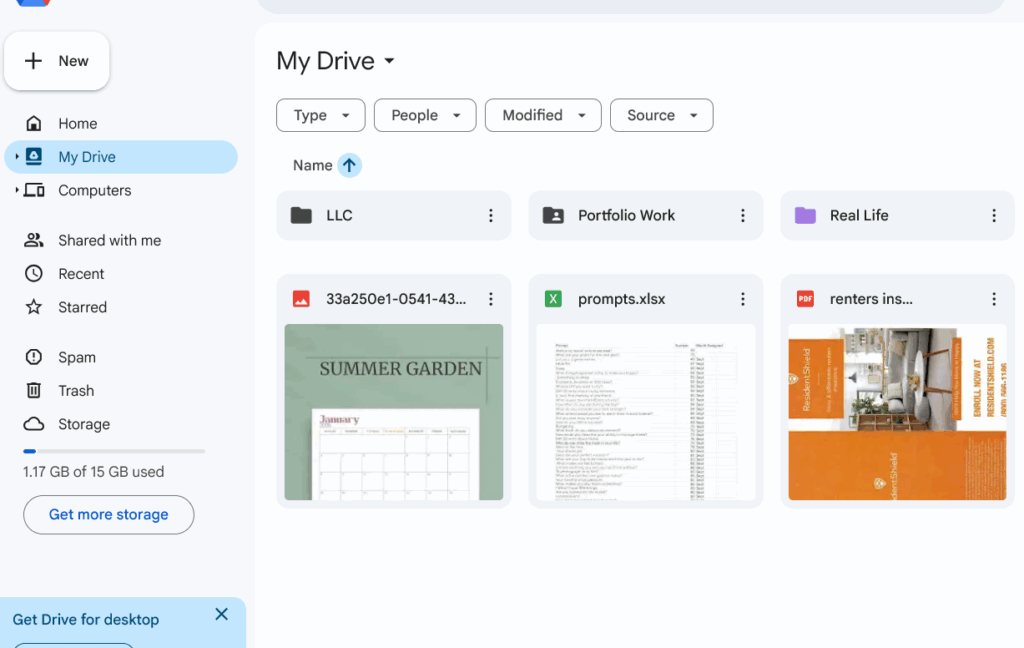
To start go into your Google Drive. I keep all my BUJU style docs in one folder, called Collections. This makes it easy to find my files. You can copy the document I use as an example this thread, to snatch all the formats and such: https://docs.google.com/document/d/1_x3eeBIUuIB_BPxBitetZBgHah1P4Ig8xl1D_Xn9YI0/edit?usp=sharing
The types of files I keep for my google docs are the following:
- 2025 Journal (doc) – I do one every year, I love their new system of content, I’ll show you what I mean. I also download and remove this from the Drive every year, to keep backups. I mainly do this digital for each searching in the future (for habits, issues, etc, therapy basically) – and so I can write anywhere; anytime.
- Goal Planning (doc) – I’ve been goal planning for a long time in my sheet document, this is very helpful for me because again, I can do this anytime; anywhere. I can reflect on past things, update and I journal a few bits in here. Its great for planning and finalizing, then I usually will print a copy for my planner.
- Groceries (sheet)- I’ve been tracking our food spending for 5+ years, and we do very well. I highly recommend you doing this year over year to just see where you money and how much inflation is.
- Habit Tracker (sheet) – back up of my notion, previously I did try tracking this in sheets but it much easier in Notion on the day to day and then excel exporting it to back it up each year.
- Home Budget (sheet) – Same as above, I keep track of monthly expenses and check things off here. These things have been how even before I was diagnosed with ADHD, I was able to keep on track of things – straight up over planning and obsessing over tracking.
- Instagram Plans (sheet) – This is new, I am not currently using this, I’ll share my stuff though, I need to get back into this.
- Level 10 Check-in (docs) – Where I stash quarterly reviews of where I feel I am in my level system.
- Misc Notes (docs) – Seriously misc notes, need to probably clean this up. I was and am using Notion, but I started to put a few in here too, really need to clean this up. 🧹
- Vibe Tracker (sheet) – Hormone and calorie tracker. I keep track of my cycle pretty religiously and sometimes when I am good, my calories on those days. This helps me with mood and planning, as I know which days I can expect to be lower energy for me.
I am planning to add a new sheet, TBR soon. I am building a TBR game for 2026 and of course, I will share it when I figure out all the pieces. I am excited and I think this will help me read more consistently. I like mood reading, but my TBR list is HUGE and I love reading, so I think this will be very nice.
📁 Setup Folders for Success
Be sure in your drive, to setup folders for best organization and success. As I said I keep my items in one called collections. It’s under AFK or Real Life -> and then Collections. I keep real life items – such as copy as taxes, etc that I need for real life, in this section. LLC docs, expenses for Etsy, etc, it makes sense to keep them all in a similar place.
However, if it’s unrelated, I sometimes just dump files into the main section, you want to avoid this for your neat organized section – if like me you ever want to find things again.
So, in Google Drive – you can create a new type of document by right clicking in that folder, or hitting the +new button in the left top corner.
As a side note, I dunno if you can turn this off, by default you go into the ‘home’ section of your drive, I hate this, and strictly use the folder section. This spot is the main folder and however you have it setup.
Did you know? You can assign colors and star folders in your drive. The colors can make it easier to find your specific folders, or just make them pretty.

To start with, we are going to use a new Doc file. So Create that or copy mine here, and get all the things we do here.
📰Google Doc Files
First things first, name your file by going into the top corner and clicking and rewriting a name there.
A Google doc is better than a Word doc IMO because of the features. Let’s go over some of my favorites. You can do a ton of these in Word online too, but some you can’t. We use Word at work, so yeah it sometimes makes bleh when working with files.
Page Sizes & Colorful backgrounds
First off, in the new Google Docs, you can adjust pageless, aka – forever scroll under file -> Page Setup.
There a ton of fun things here, you can also change the background, to a darker one if you want to write in a fun light font – or a grey one to make it easier on the eyes for example. Change sizes of the paper or set it to pageless, so its infinite.
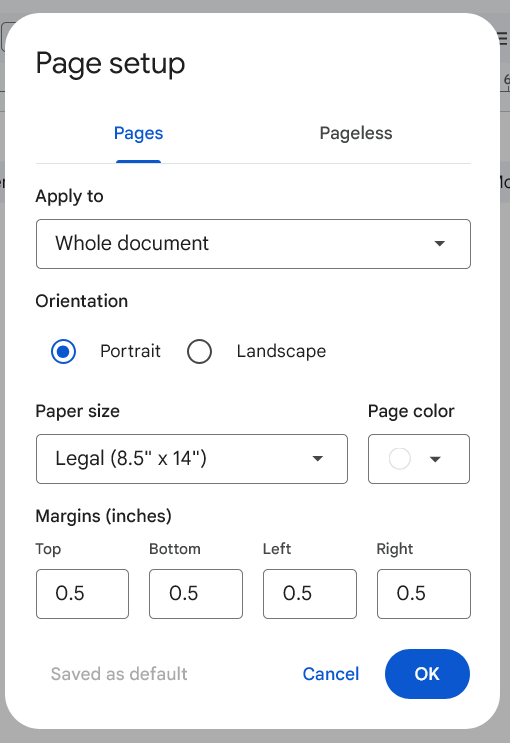
I like to use larger docs, with pages vs pageless because I don’t like how tables work on pageless as far as scroll. You can custom set the page size – make it some weird version or make it HP Classic Size for easy prints. Whatever you want.
I immediately named my file – Test (2) – as I did slides first to see if I could. But name your file. I would personally do it by year – as you can use an outline to find each month, so no need to bulk up the files in this case.
Add an outline or pages
This is a new feature, and I love it. You can have a side outline now, which you could before, but now those can be pages. So for example. If you journal – instead of using headers and having one long document – you can make a new page per month. If you would rather.
Google calls these tabs.

Each page can then also have an outline opened and closed. And of course you can drag them around, under each other, etc.
Annie Use Your Telescope
Next, my favorite thing about Google, is the fonts and how you can assign them. To start, you just want to write out something, or if you want to dive right in, go to fonts in the top menu and you can see here, you can expand them:
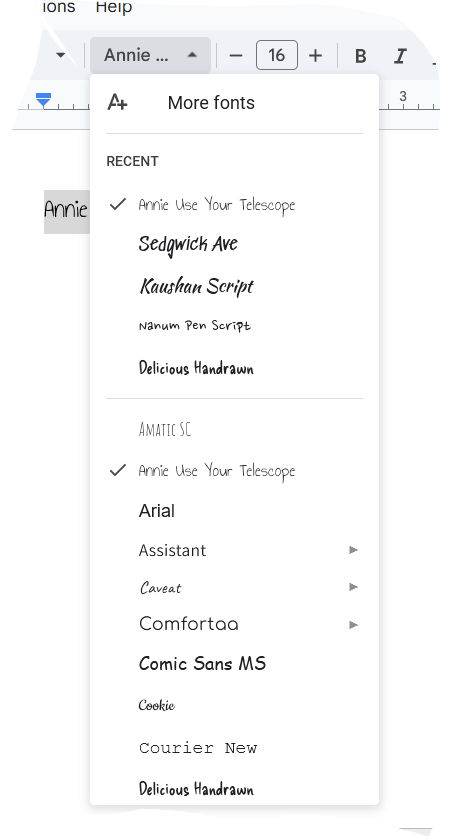
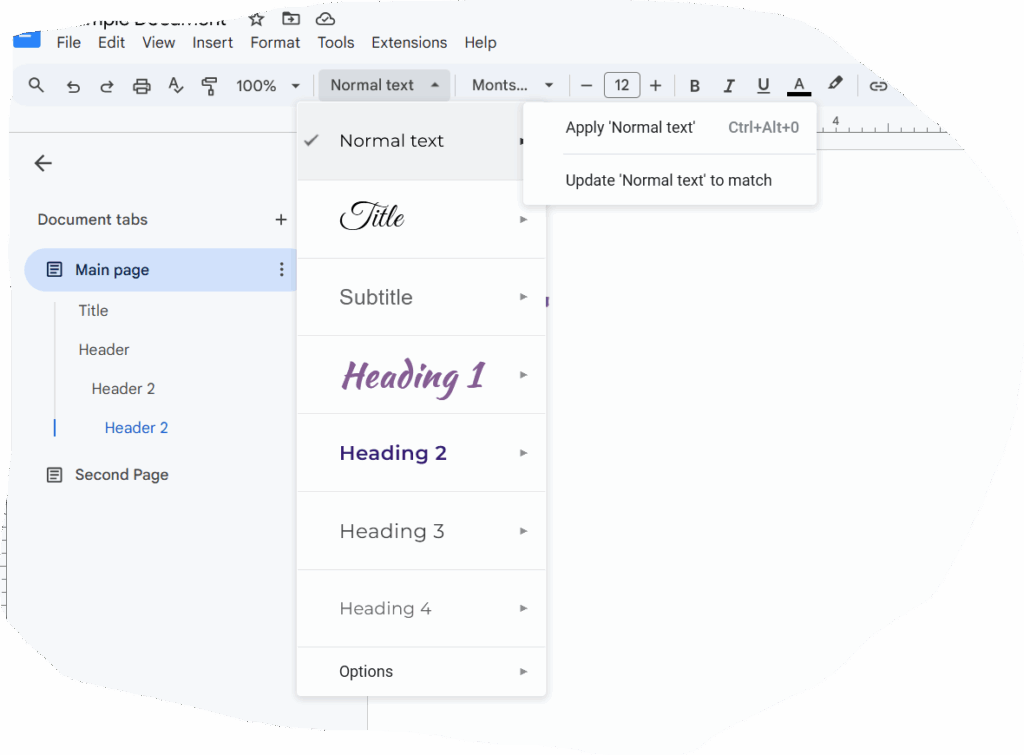
Once you find some you want to play with, or again to start getting setup, make some headers, normal text on the page and you can start assigning them roles. Essentially this will allow you to control the entire page on a whim – want to headers, highlight one, change it and apply to all.
Once you have your first bit of text on the page, highlight it and assign it a role.
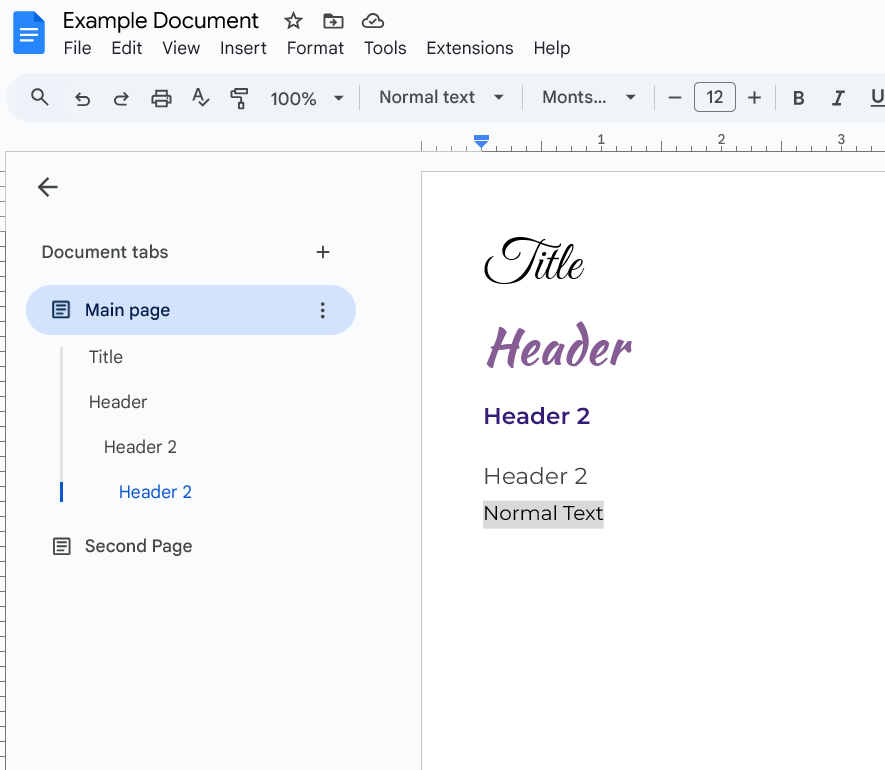
You can see here how as you figure out the fonts and color combination you want to use, they appear in the outline. You may need to click on those three dots next to the page name to view outline.
As you are happy with your headers and what not, make sure to go back into the drop down menu at the top and click apply to all. This is what will set up the document for ALL headers, text, etc
You can change this anytime, any place now. It is great to get a new perspective as you write or type – or in case that day you just want teal instead.
Inserting tables, elements and more
Docs added a bunch of new insert-able features. Including page numbers, functions (thought they don’t do math for you, sadly yet.), watermarks, headers and footers and templates you can do as well. Tables have always been a feature and a great way to organize your journal or data.
To insert a table, just go to insert -> table and start with your rows and columns. You can expand and adjust them, but remember to edit your table as whole, you need to select the whole then. You can adjust cell size and padding in the properties tab after you do that.
I mention tables and properties, as you can create some lovely bullet journal spreads with tables. For example, I created a minimal 7 day page spread here:
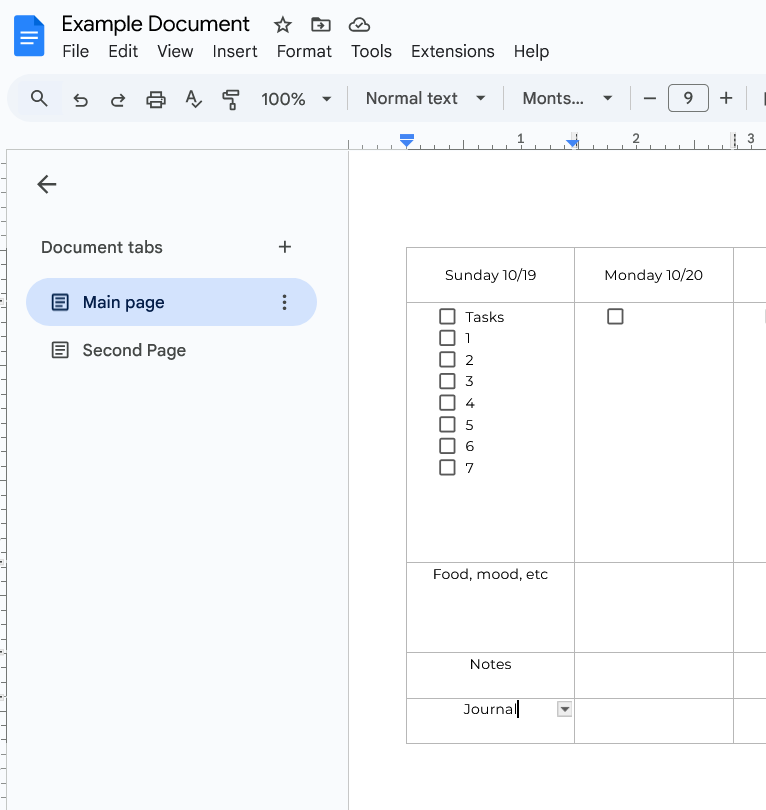
From here you can decorate with clipart and add anything you want. The great part about digital is you can insert .gifs in some programs and clipart and emoji’s are abundant.
Real Quick, some shortcuts
Just as a last tidbit, here are some of my favorite shortcuts
A reminder of the Usuals Ctrl+C for cut / P for paste / F for Find / Enter to create a page break.
Searching documents becomes much easier when they are digital. But you can also add emoji, I like this page for that: https://coolsymbol.com/ and Google offers labs, which are experimental options for their programs. I have not used any in docs, only sheets – but they are very handy.
That is a lot, but Docs are really useful.
Happy planning.