Creating your own Inserts
Hello Friends!
I hope you are having a fantastic new year so far.
I know many have a goal of getting organized and setting up their planners so they are just perfect for them. That is why I love the disc bound system so much – just add whatever! On that, I wanted to go over how to create your own inserts – using some nice free software I just love – Lucidpress.com – it’s not an affiliate link nor do I get anything by sharing, but you should check it out if you are working in a team to create documents, want to work wherever (cloud-based) or just starting out (it’s pretty intuitive).
The first three items are free, but the download size is limited – so keep this in mind. You can also use sites like Canva or even just make something in Word or Excel – the limit is only what you want to try. Use what you are already familiar with or if you are just getting started dive right in.
For Lucidpress I do have an account, similar to Photoshop I love to use it for work and images. When I was creating my goal book I used this for the blank templates (with later edits in photoshop). Another reason I like it is that it is cloud-based – so I can edit or make something real quick – anywhere for a client.
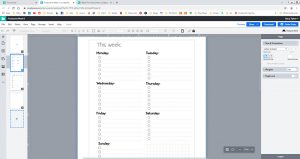
I like to design at full-page BUT you can easily just create a page size for your project. Now if you do not know how to print for your sized planner (or have that sized paper) – what I do is create a box outline the size I need. This makes it easy to know my boundaries and later make any cuts.
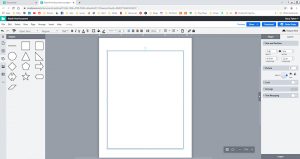
One reason I keep the HP size in the middle of my inserts is so if you were to print back to back, they will line up! If you put one page to the edge – which is easier to cut – but print it twice, back to back – it wouldn’t line up when printed.
I start with an idea, something I’ve seen and liked and want to try or tweak, or something I just had an idea for elsewhere. Sometimes I *need* something for a specific task or goal. Today I am going to make a weekly page with a bunch of todos on the left.
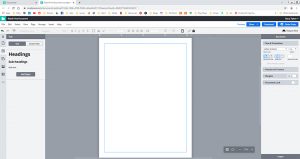
So the first thing I am going to do is add a half-page guide – this will let me know where to start and stop for the table and days of the week. It doesn’t print and is just a guideline
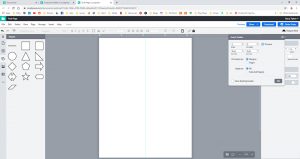
Then I am going to create a 2 column table, whatever rows (I will add more later)
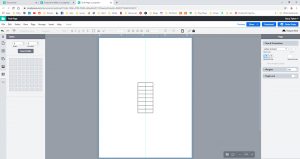
I will probably put a header and possibly a border on this – PLUS I want to leave room to punch it – all things you have to keep in mind when deciding where to put your table.
I personally like to keep my list even, so 38 would fit but I did 30 instead and just gave myself more room for writing in the boxes.
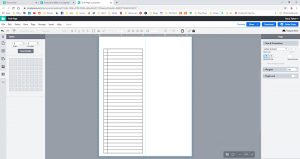
Now I also like to keep my to-do list’s just lines, so I am going to adjust the lines so they are not visible, except for one bottom line. Before I do that though, I am going to add in a checkbox in the little square area I made while I can still see it. Then I will adjust my lines in the toolbar to what I want to be seen and there we go, easy list.
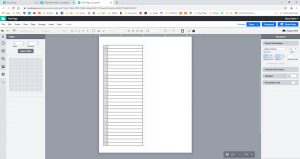
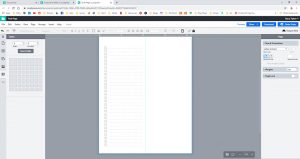
Next, I want to add the days of the week. I want to do something similar to the todo list thing but I am not sure how many will fit. Just taking a guess I would say 5 (because I could fit 38 on the other side, so 35/7 days is about 5). I like to keep my weekends even with the week too – not everyone needs too.
So I am going to copy my table and make it 5 rows instead of 30 and then make 7 of those.
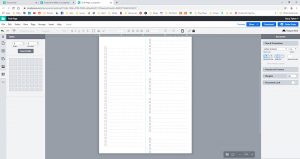
Now I can see that is not going to fit, but I can just go and select all my current tables and adjust them all at once.
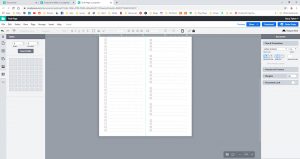
Another great thing about programs like this is the look and you can see it is automatically putting the space between each as even for me as I got. It is clicking to where I want it based on the ones above it. It makes it easy to line them up. 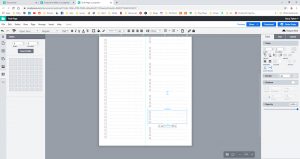
It’s just a personal preference, but I am making the bottom lines line up here, for neatness. Okay, now this is unique to Lucid, I am going to lock all this down since it is where I want it. This will keep me from moving it by accident or clicking and screwing it up later. Very handy.
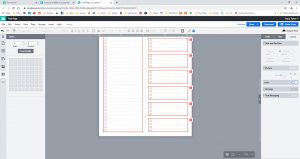
Here I am just playing with the various ways I could list the date. I like the circle and change it around a few times until I am happy with it.
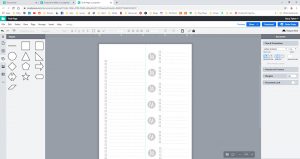
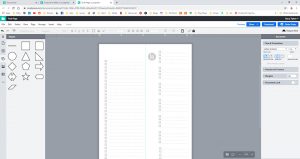
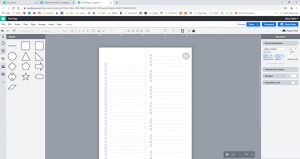
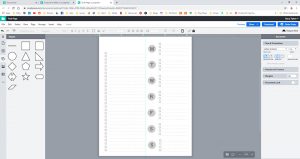
So many changes.
Okay, I am good with this for a start. I am going to download it, print and test it before I do anything else.
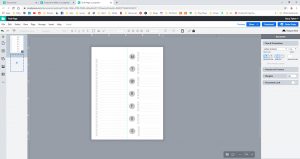
Download it here to try it out! It’s a PDF
Once I am happy this insert serves its purpose I am hoping to make a weekly todo sheet for myself and share if I like it. One of my goals this year is to make decorated inserts and see how they do. I have tried to stay away from this because people’s taste is just so broad…. But I have a few designs I would love to see and I thought I’d try out.
I’ll add decorations and make it HP sized in Photoshop.
Thanks for checking it out and if you love how easy this was in Lucidpress, give it a go – it’s free to sign up and not an affiliate link or anything – I just like it. You can find tons of inserts in My Etsy shop. I’ve try to add new things all the time.
I just added a photoshop file for making your own weekly kits, you check it out here:
